Tanning Essentials Guide
Getting a perfect, flawless tan that makes people think you’ve just returned from a tropical holiday does take a little preparation. But achieving self tan perfection is not difficult when you follow some basic tips and advice to get your skin in the best possible condition for applying self tan and making sure it fades gradually and evenly, just like the real thing. In this short guide, we’ll run you through the key things that will get you looking perfectly tanned head-to-toe with minimal fuss!
Exfoliate…
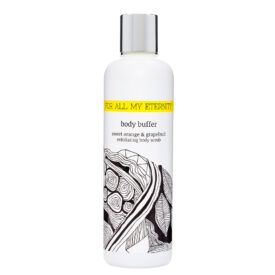
Self tan goes onto the very top layer of your skin, and your skin naturally sheds & renews itself. If you apply self tan straight onto this old top layer it will come off much quicker and often result in a patchy looking tan. By exfoliating first, you are gently scrubbing all the old skin cells away to leave a fresh smooth new layer of skin upon which to apply the self tan. This helps to ensure a much more even and consistent application, meaning your tan will develop without patches, last longer per application, and fade much more evenly, similar to a real tan.
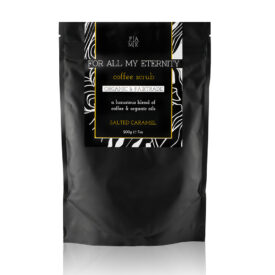
When selecting an exfoliator, look for one with natural grittiness such as ground walnut husks or an organic coffee scrub. Using natural exfoliators is not only great for your skin but also great for the environment. Check out the great range of body scrubs and exfoliators in our marketplace today.
Apply…
Select your favourite fake tan and get ready to start your application! First though, make sure you are applying onto clean, dry skin. Jump in the shower or bath first and make sure you’re fully dried off and your skin’s not too hot when you start applying. Did you know, most self tans will give some type of ‘developing’ odour if your skin is too hot whilst applying? This has no bearing on your chosen brand of fake tan, it’s a common thing and easily avoided just by making sure you’re cool whilst applying and whilst the tan is developing on your skin.
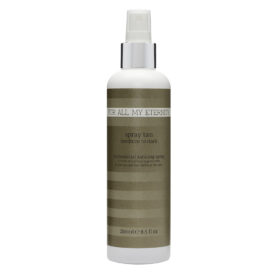
Pick your preferred format of fake tan, whether it is a lotion, mousse, spray, oil, etc. and ideally apply using a good quality self tan mitt. Application goes a lot smoother when applying with a tanning mitt, it also allows you to get into all those more difficult areas and lets you easily smooth out any areas where you may have applied too much or too little. TOP TIP: Leave your harder-skinned areas (knees, elbows, ankles) until last and just wipe over them with whatever tan remains in the mitt. These areas tend to absorb more tan and therefore often develop darker than the rest of your body, so it’s best not to apply too much to those areas, and is another great reason to use a mitt. Similarly, apply only a little to the face with the mitt to ensure the most natural-looking results. You can always go darker! Now allow the tan to develop over the required time, ensuring you wear loose-fitting clothes to let the tan develop freely and evenly on your skin.
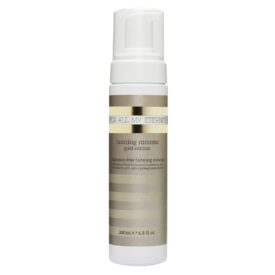
FAME Gold Edition Tanning Mousse Instant Tan 200ml
Maintain…
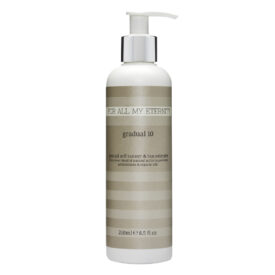
So you’ve got the perfect tan and you want it to last. This is where the maintenance comes in, and it doesn’t have to be complicated! If you want your tan to stick around then you need to continue your exfoliation routine every few days to help keep your skin in its best possible condition, ensure you’re moisturising daily, and top up your colour with a gentle gradual tanning lotion.
Using a gradual tanner every few days will not only keep your tan looking its best, but it will also help to keep your skin moisturised and hydrated. Look for a gradual tanning product with plenty of skin-nourishing ingredients for the best results.
Follow these simple steps and you’ll keep your tan looking fresher for longer with zero streaks or patches as it naturally fades away.
Check out our wide range of pre-tan prep, self tan, and accessories on the Fake Tan Marketplace today and achieve your perfect self tan with total ease.


